[ad_1]
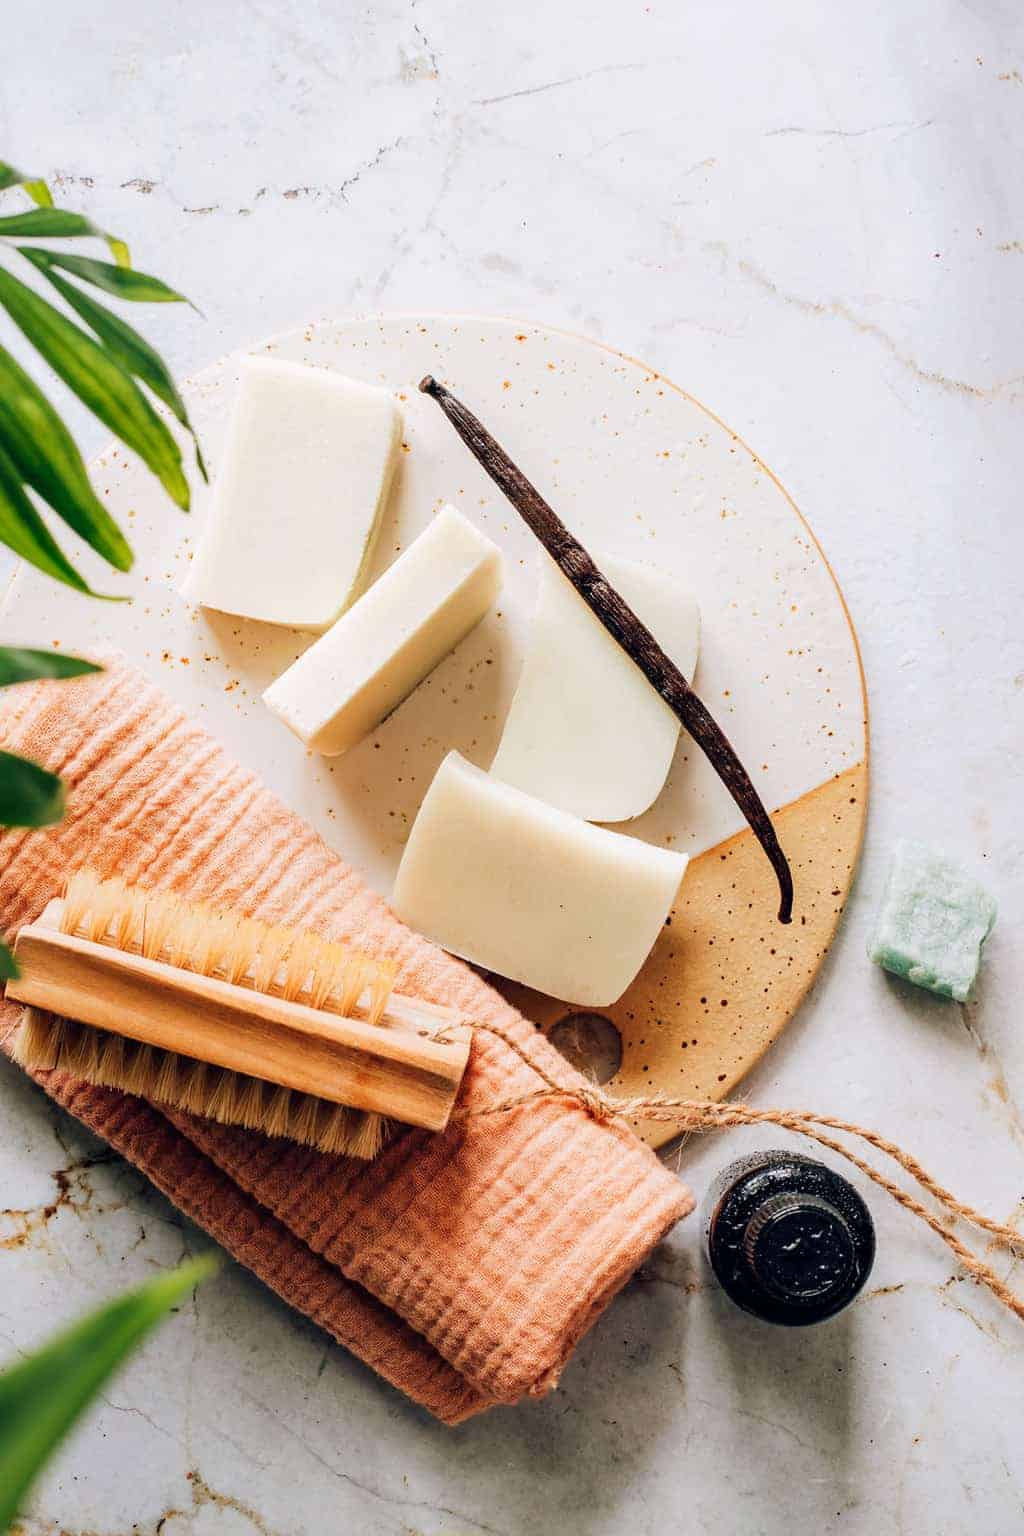
I grew up washing my face with Neutrogena soap. Every day, without fail. So part of me still loves a good bar of soap to wash away the day’s dirt and makeup. Nowadays my skin needs something more gentle, and this goat’s milk face soap bar with soft bentonite clay, almond oil, and vanilla soothes as well as cleanses.
With Mother’s Day around the corner, it’s a good time to pick up a block of melt and pour soap from the craft store and play around with making a big batch of soaps for gifts. I used the goat’s milk glycerin soap because I love the creamy texture.
And the soap bases are perfect for getting creative with making your own skincare formulation. Here’s what we used for our facial soap:
Jump to:
Ingredients
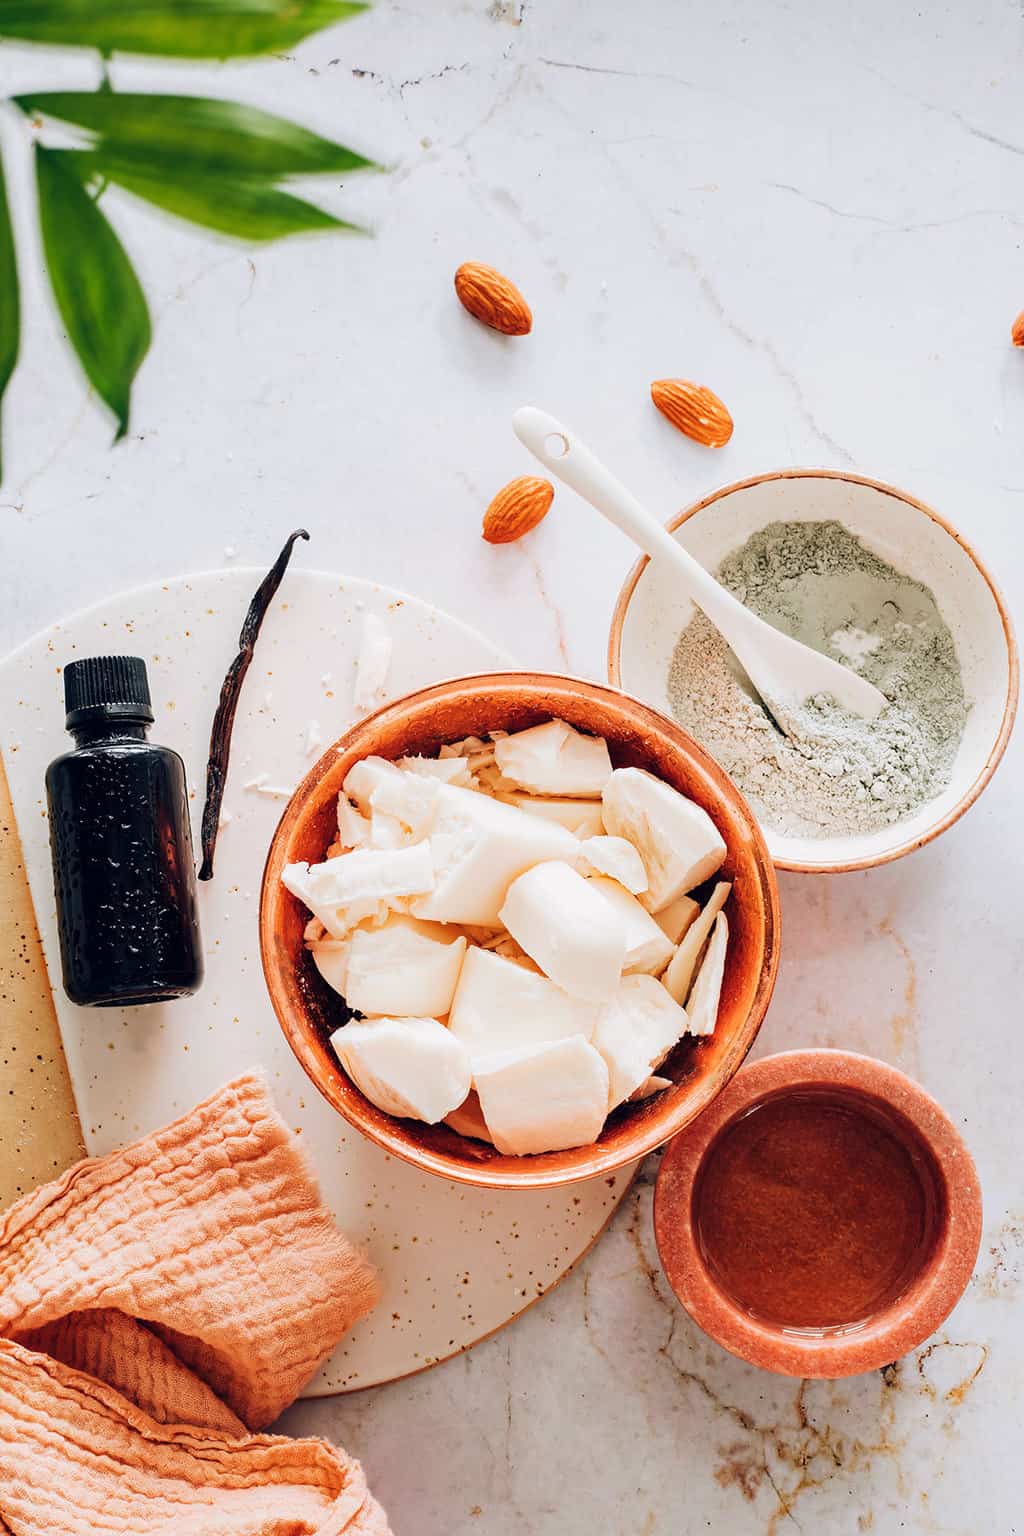
Goat’s milk glycerin soap: You can find 2-pound blocks of melt-and-pour soap at most craft stores. Goat’s milk is naturally high in vitamins and minerals. It is also rich in butterfat, which makes it the perfect moisturizer. Vitamin E, which is beneficial to the skin, is found in abundance in this soap.
Bentonite clay: Clay makes an excellent addition for its ability to draw out impurities and dry up excess oil.
Almond oil: One of my favorite skin oils, almond oil is easily absorbed into the skin. You can substitute whatever oil you prefer if you have allergies.
Soap mold: I’m always on the hunt for easy ways to recycle, and I almost always use milk containers for my molds (like with this pink soap). A creamer container was the perfect ‘loaf’ shape!
Instructions
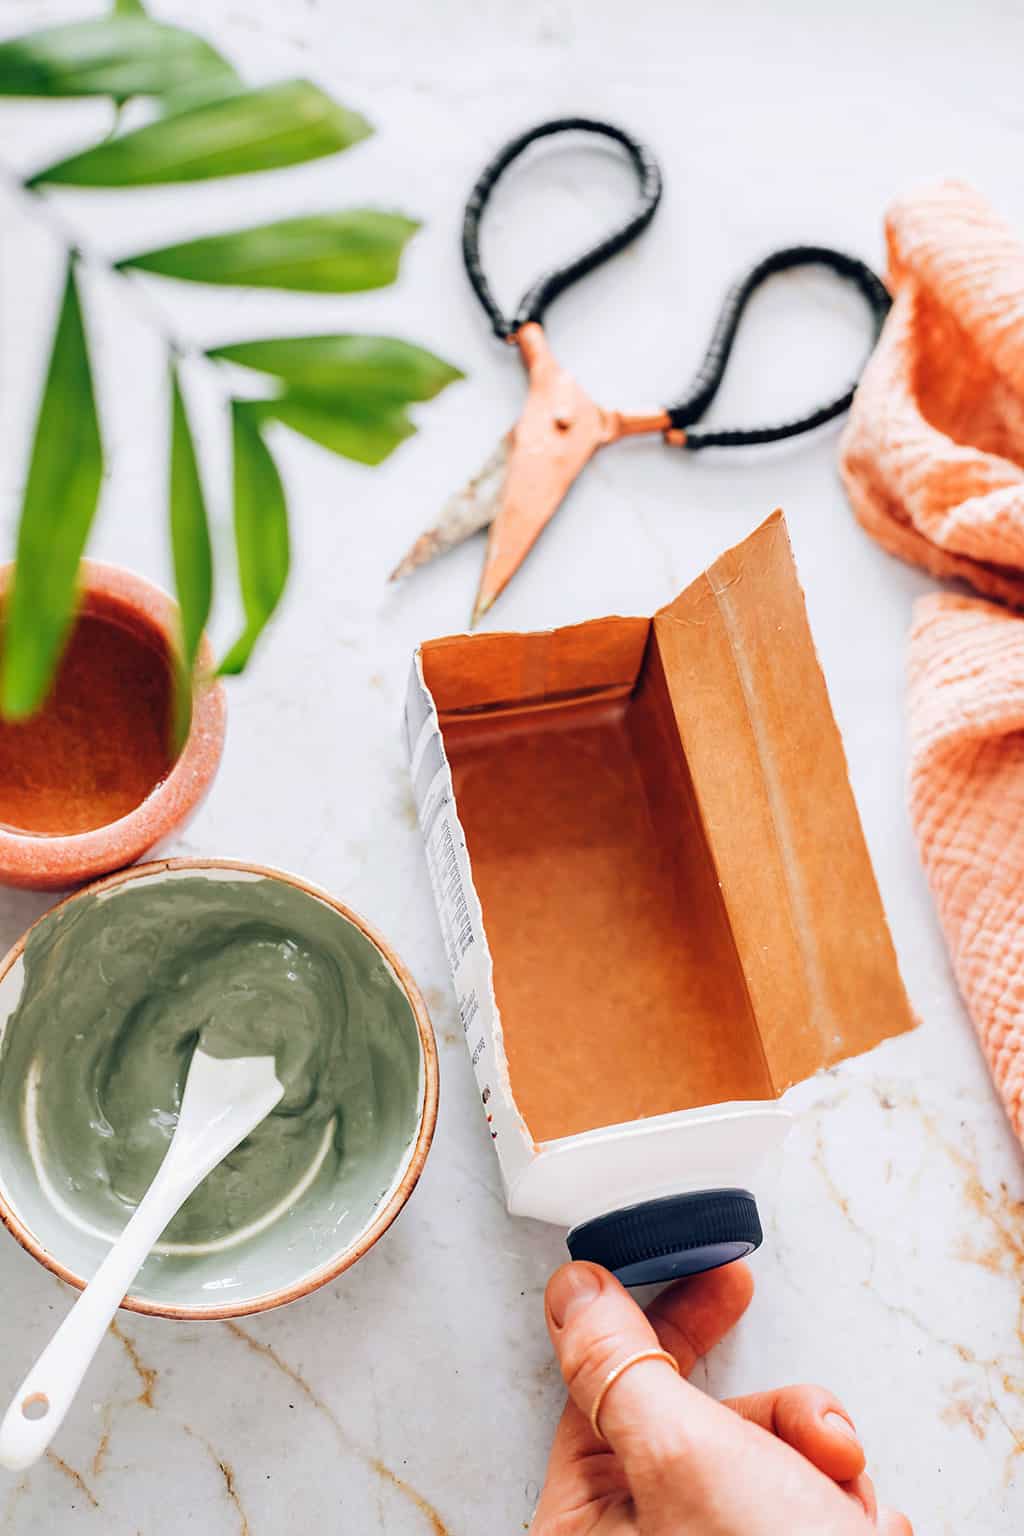
Step 1: Cut the soap mold
Cut at least three sides of the creamer container. You want the sides and bottom of the container to stay intact so you can pour in the soap.
You can even put some fun stuff in the bottom of the container, like herbs or dried flowers, if you want something pretty at the top of your soap.
I should have put some ground almonds for exfoliation or maybe a sprinkle of cinnamon for color. I hate it when I have ideas after the fact!
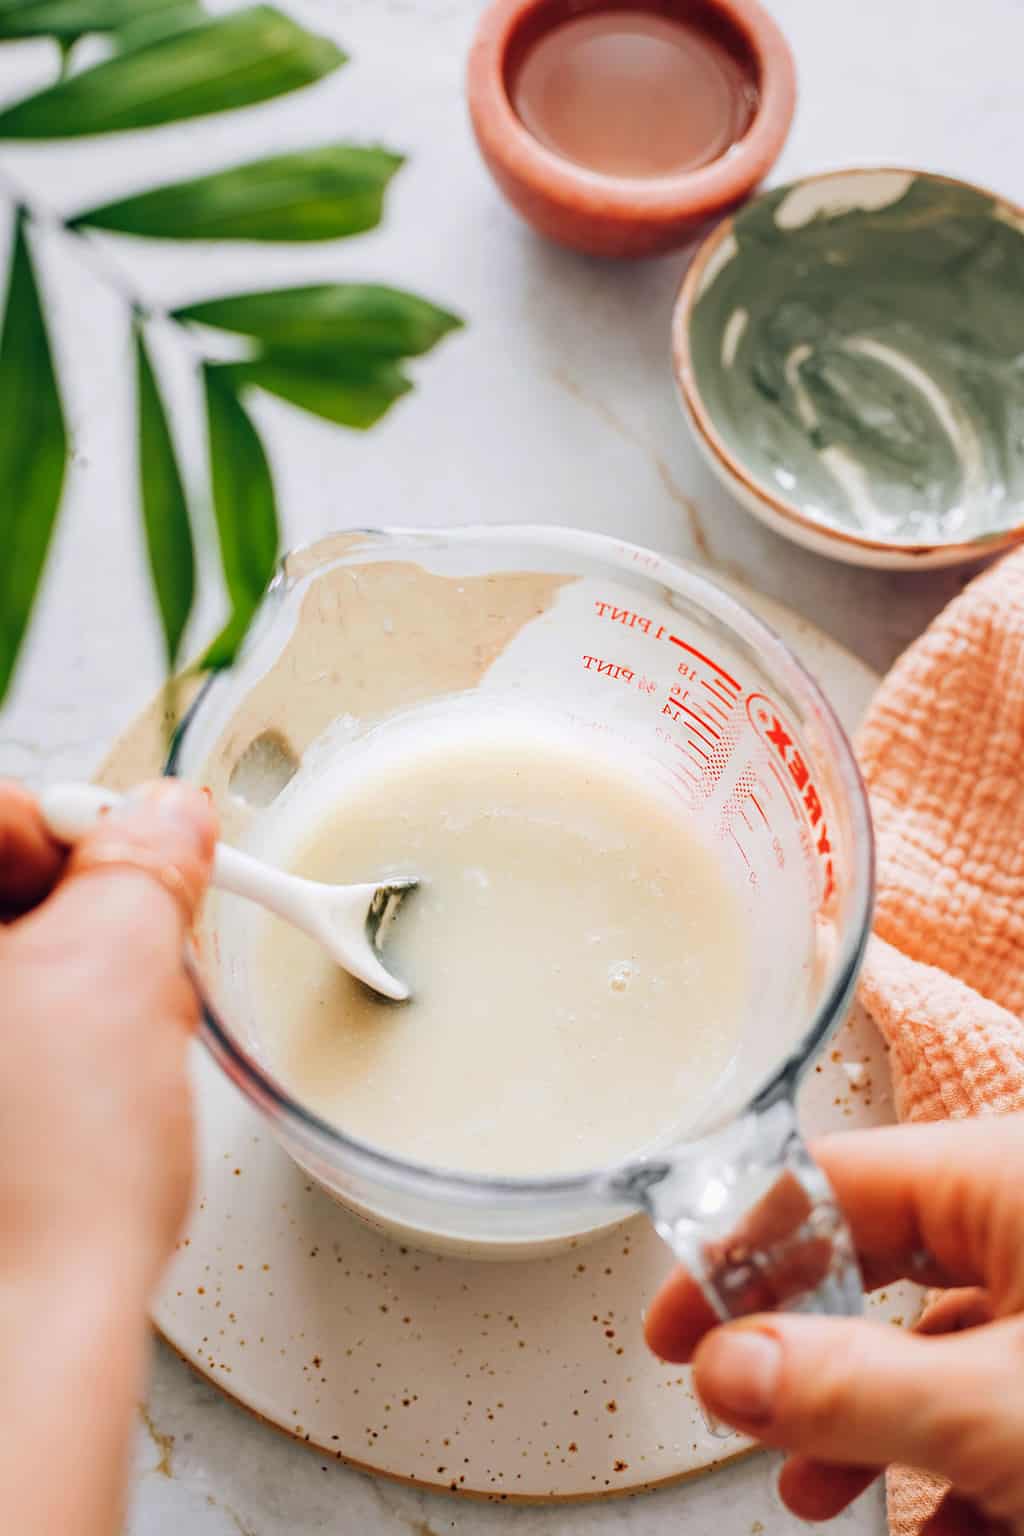
Step 2: Melt the soap
Cut soap into small chunks and place them in a heat-proof bowl. Melt in the microwave in 20-second intervals.
Stir between each round to break up large chunks.
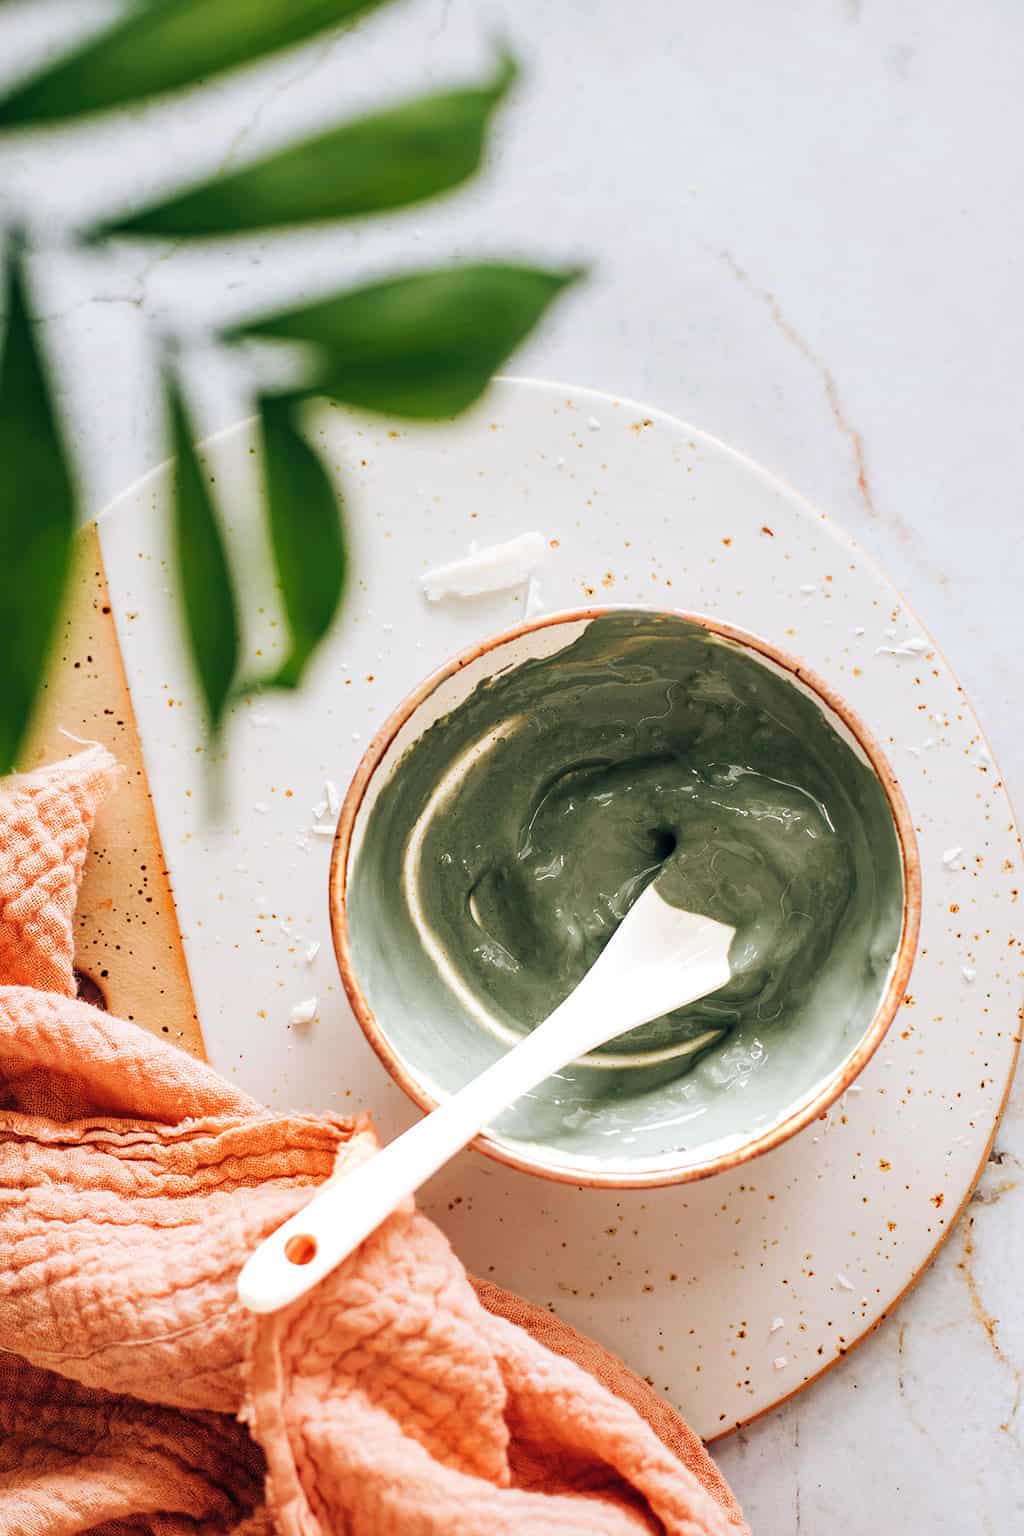
Step 3: Make paste with clay
While the soap is melting, put the clay in a separate small bowl. Add enough water to make a paste with the clay.
Step 4: Add remaining ingredients to the soap
When the soap is completely melted and has stopped steaming, add the water, almond oil, essential oil, and clay paste. Whisk the soap until fluffy to combine the ingredients.
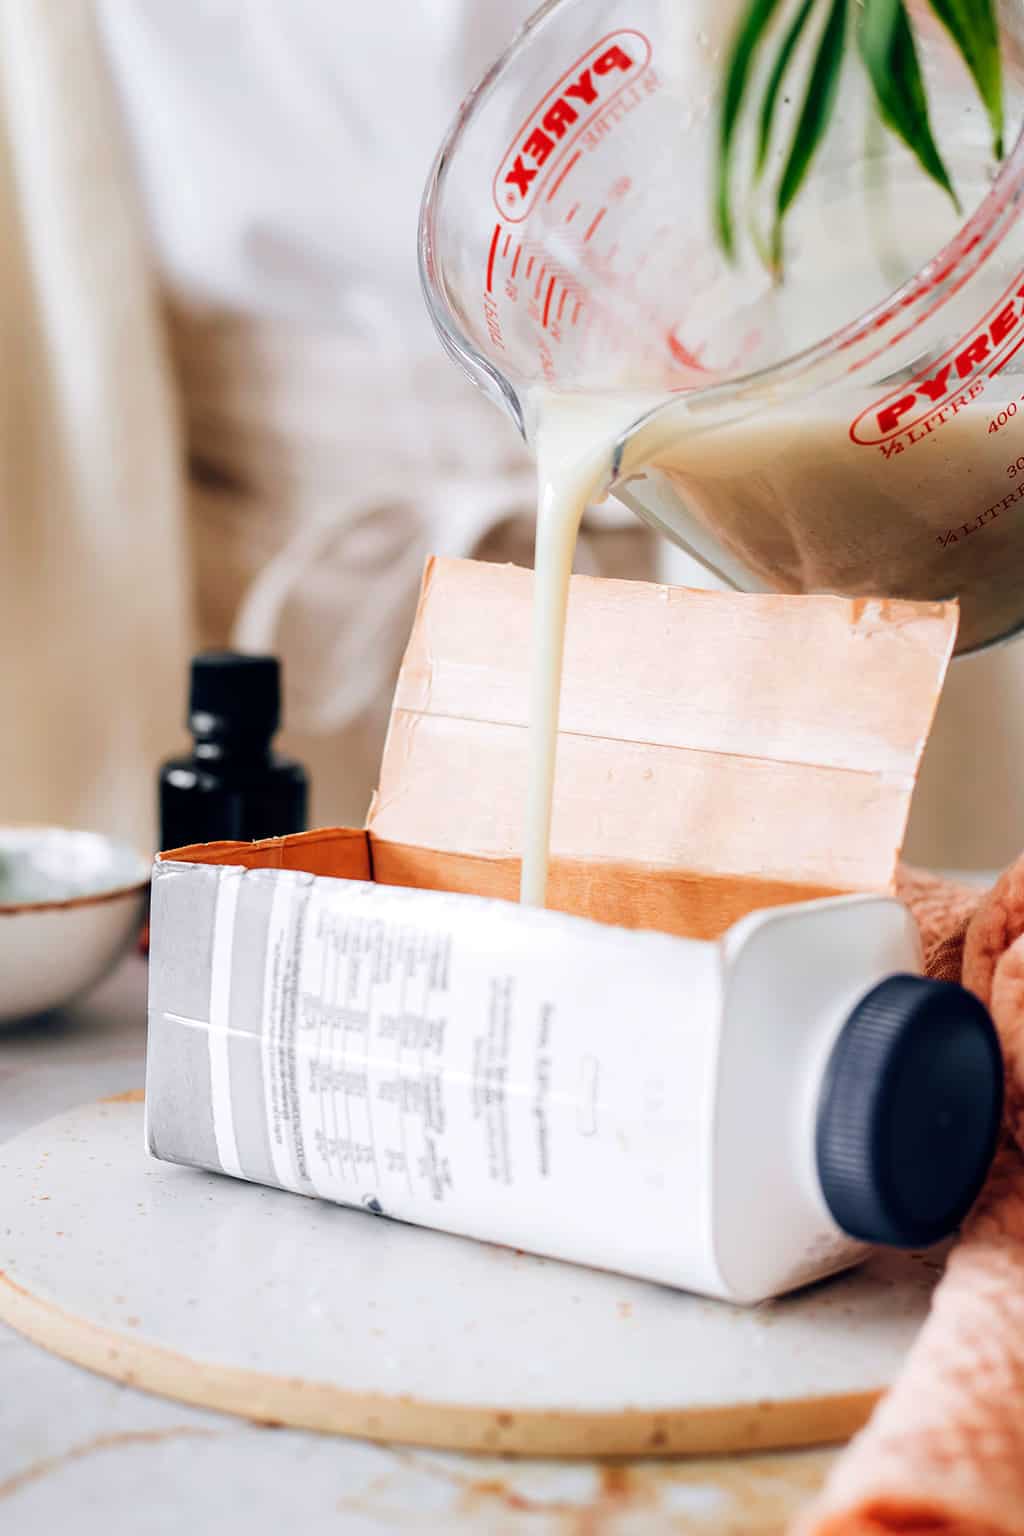 Step 5: Pour soap into the mold
Pour into your soap mold.
Also, quick note, I learned after the fact that I should have spritzed the top of my soap loaf with alcohol to get rid of the bubbles. Do that and you’ll get a smoother finish.
Step 6: Let soap harden
Let the soap harden for 1-2 hours. When it’s completely solidified just tear away the sides of the container.
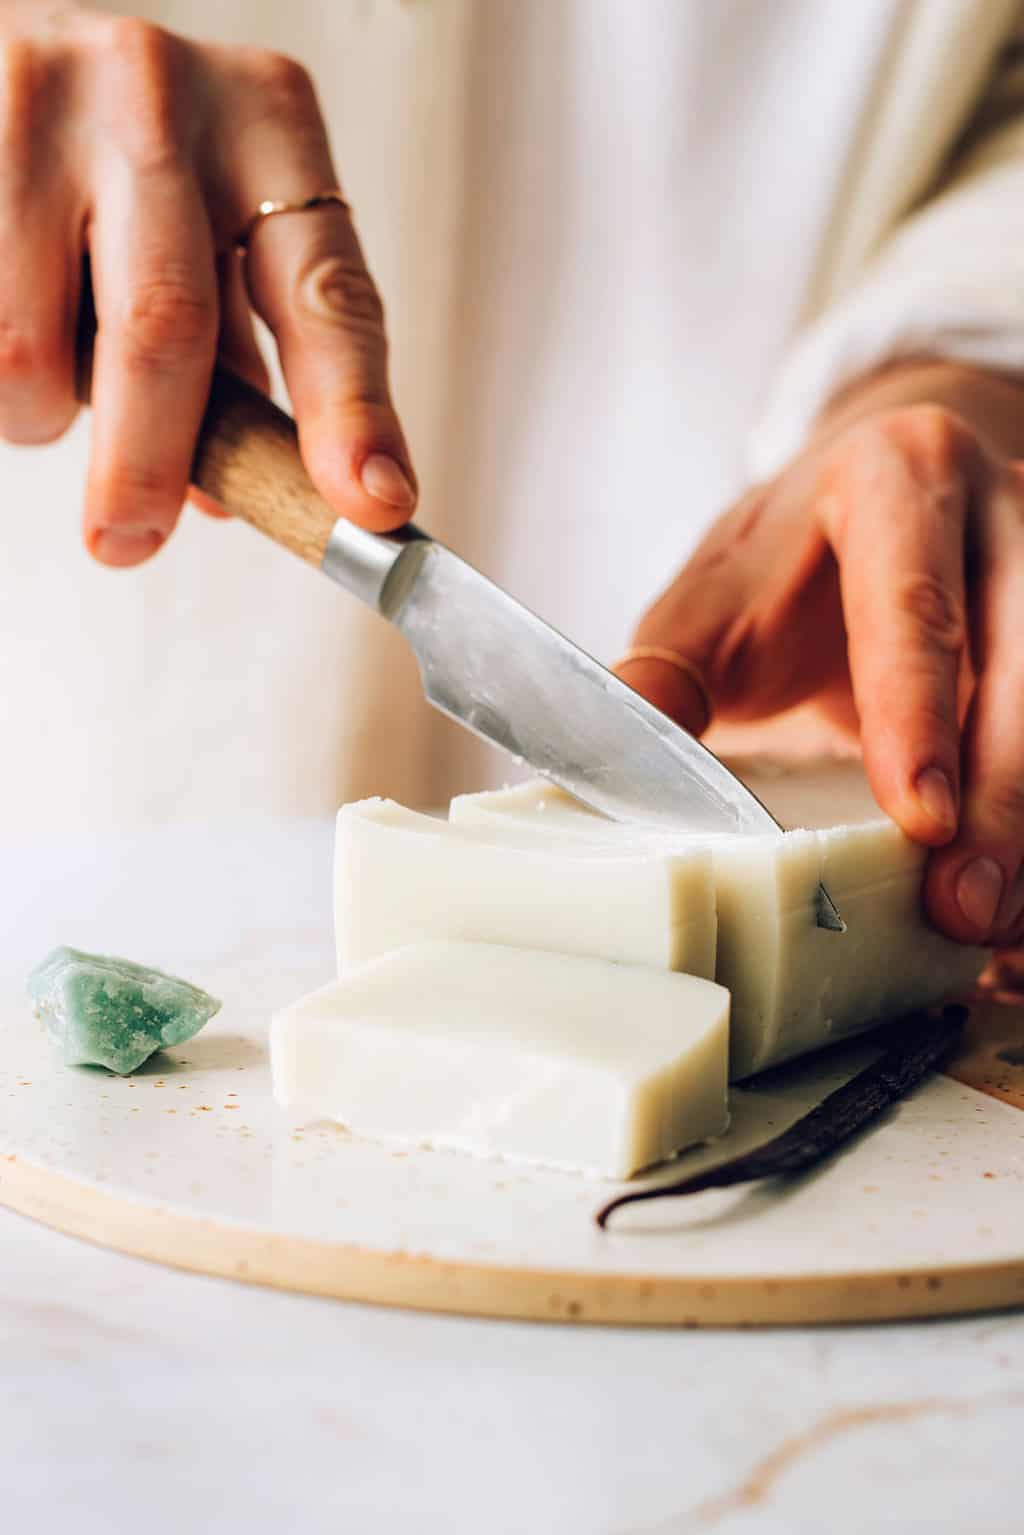
Step 7: Cut into slices
Cut the soap loaf into whatever sizes and shapes you want and package them up for gifts.
Homemade Almond Vanilla Clay Facial Soaps
Make your own homemade facial cleansing soap with bentonite clay, almond oil and vanilla to soothe and cleanse.
Yield: 16 ounces
Cost: $12
Instructions
-
Cut soap into small chunks and place in a heat-proof bowl. Melt in the microwave in 20-second intervals. Stir between each round to break up large chunks.
-
While the soap is melting, put the clay in a separate small bowl. Add enough water to make a paste with the clay.
-
Prepare your soap mold. Cut the top of a Silk Almond Creamer container to make a soap loaf.
-
When the soap is completely melted and has stopped steaming, add the water, almond oil, essential oil and clay.
-
Whisk the soap until fluffy to combine the ingredients.
-
Pour into your soap mold. Spritz the top of the soap with rubbing alcohol to remove any bubbles.
-
Let the soap harden for 1-2 hours then remove from the mold.
-
Cut the soap into your desired thickness.
Notes
I learned after the fact that I should have spritzed the top of my soap loaf with alcohol to get rid of the bubbles. Do that and you’ll get a smoother finish than mine.
Photos by Ana-Maria Stanciu
[ad_2]
Source link
